Fluid Bear Guide
Fluid Bear Paint Kit Instructions
What’s Included:
1 x 9-inch Fluid Bear
3 x Acrylic Paint Bottles (60ml each)
1 x 8x10 Canvas
1 x Paper Plate
1 x Spoon
1 x Paintbrush
1 x Pair of Gloves
1 x Plastic Apron
Instructions:
Cover your table with a disposable garbage bag or plastic sheet, and wear gloves and an apron.
Place the bear on a paper plate in the center of your workspace.
Pour alternating layers of paint into a plastic cup, avoiding overmixing.
Dip a paintbrush into the cup of paint and cover any hard-to-reach areas on the bear, such as the neck and where the arms and legs connect to the main body.
Leave about 1/4 of the paint in each bottle during the initial pour into the cup. This remaining paint will be used for accents or blank spots after the initial pour.
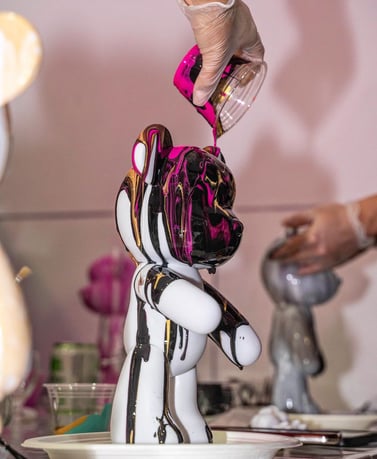
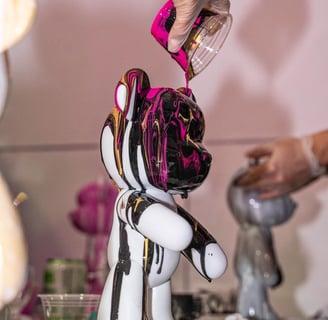
Pour the paint over the bear from the top, letting it flow naturally down the sides. Use the paintbrush or a spoon to adjust as needed.
Once the initial pour is complete, use the extra paint and a paintbrush or spoon to add accents or fix areas where there’s too much of one color or not enough coverage.
After the bear is fully covered, lift it carefully from under the ears and place it standing on a tray to dry for 24–48 hours.
Use the extra paint collected on the plate to create a unique design on a canvas:
Pour the leftover paint onto the canvas in a figure-eight pattern.
Tilt the canvas to spread the paint evenly to the corners until the edges are fully covered, leaving no white space
Tips:
Avoid excessive scooping to prevent color muddiness.
For more ideas, check out our video tutorials online!
Explore creative ideas with our YouTube tutorials for inspiration:
Over the next month, we’ll be uploading additional tutorial videos showcasing more techniques and designs!